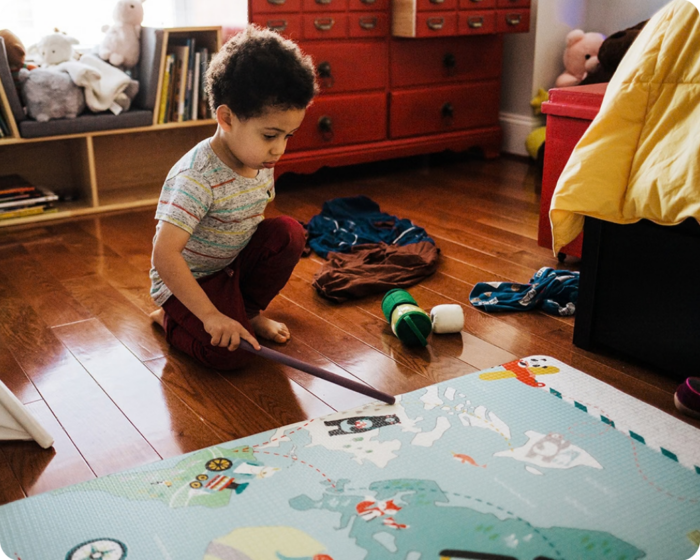
When learning a new skill, it helps to begin with the basics. Want to become fluent in Spanish? Start by learning some nouns and verbs. Dreaming of a career in professional tennis? Give holding a racket a shot.
The same is true for home maintenance. Before you can hang that flatscreen TV on your wall, you’ll want to know what a stud is and how to find one. Want to clean your own gutters? It’s helpful to know how to safely set up a ladder.
Here are seven foundational skills to get you on your way to being a master DIYer.
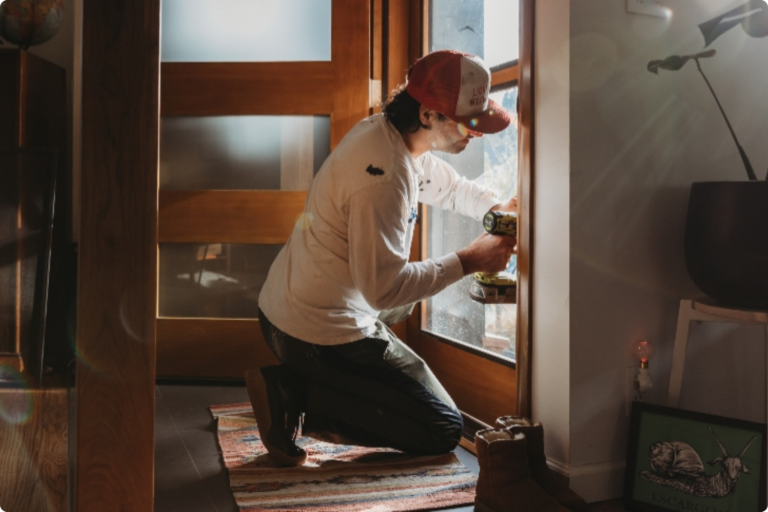
1. Find a stud
When you want to hang something heavy — a shelf, for example, or a television, or a cabinet — you need to find a stud. Studs are the lumber in your home’s frame. The tricky part, however, is that they’re hidden behind your drywall. Though hardware stores sell electronic “stud finder” tools, being able to locate studs without one is a great skill to have.
Tips and tricks:
- Studs are usually spread every 16 inches. Knowing this, you can measure from the corner of the room, and there should be a stud about every 16 inches. It’s not a perfect method, but it should give you a rough idea of where your studs are.
- Look for outlets, which are always hung on the side of a stud. Once you figure whether the stud is to the right or left of an outlet, you can use that to measure 16 inches in either direction to find other studs.
- If you knock on the wall, you’ll hear a change in sound when there’s a stud behind the drywall. When you knock over the space between studs, it will sound hollow. When you’re over a stud, it’ll sound more solid.
- Check the baseboards. Typically, baseboards are nailed to studs, so nail heads mean there’s a stud.
2. Caulking
Caulk is a paste–like substance used to make surfaces air- and water-sealed. You can find it around windows, sinks, tubs, and countertops. It comes in a tube and you apply it with a caulking gun. The lifespan of caulking is typically five years or fewer, so as a homeowner, you’ll likely need to reapply it at some point.
Tips and tricks:
- When opening a tube of caulking, cut the nozzle at an angle. The angle allows you to control the caulking better as it comes out.
- Go easy on the trigger. When you squeeze the caulking gun, there may be a slight delay before caulking comes from the tube. And when you release the trigger, it might continue to come out. Caulking guns have a lever to release pressure. Get familiar with it before you start.
- Use painters’ tape for straight lines. Put the tape 1/8 inch on either side of the seam you’re caulking. Peel it away after the caulking has been smoothed into place.
- If you use your finger to wipe away excess caulking, wet it with soapy water first. This will keep the caulking from sticking to your finger and making a huge mess.
- Insert a nail into the tip of the caulking tube or put a small piece of saran wrap over it to keep it from drying out.